That “oops” from Part 1 actually turned out to be useful. I reused it as a spacer to set the height of the platform. Since it was thrown together quickly, it also came apart just as easily.
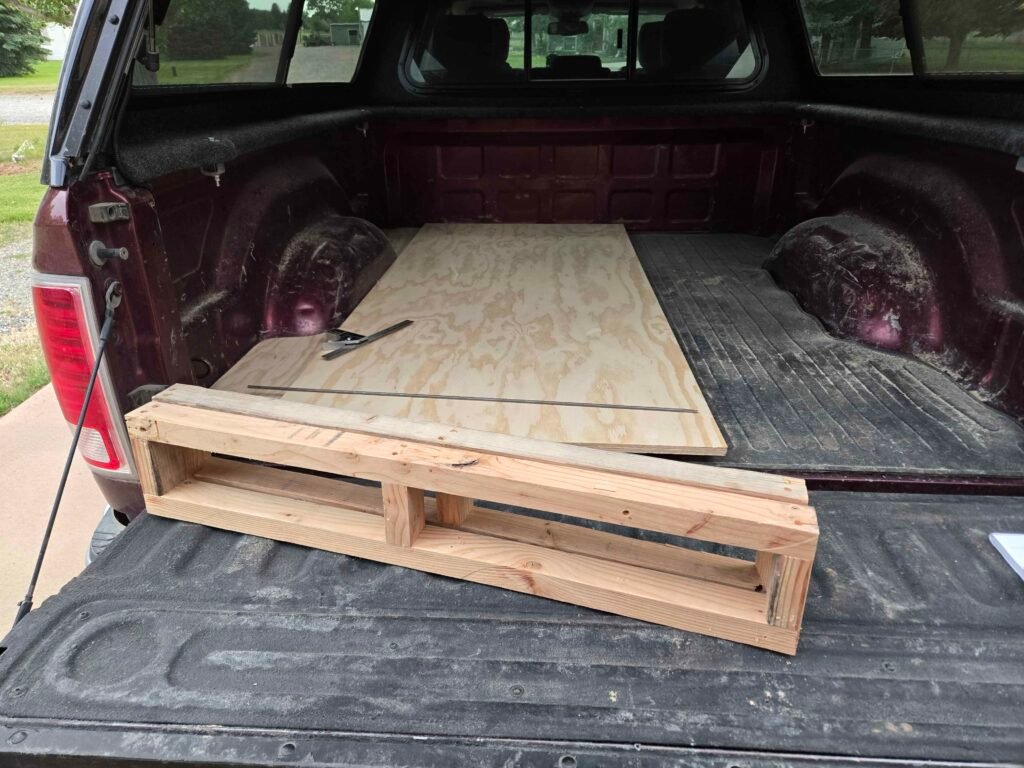
With the height figured out, I was able to lay out the pattern for the top. It was definitely different than the base. It took a little tweaking to set the height correctly.
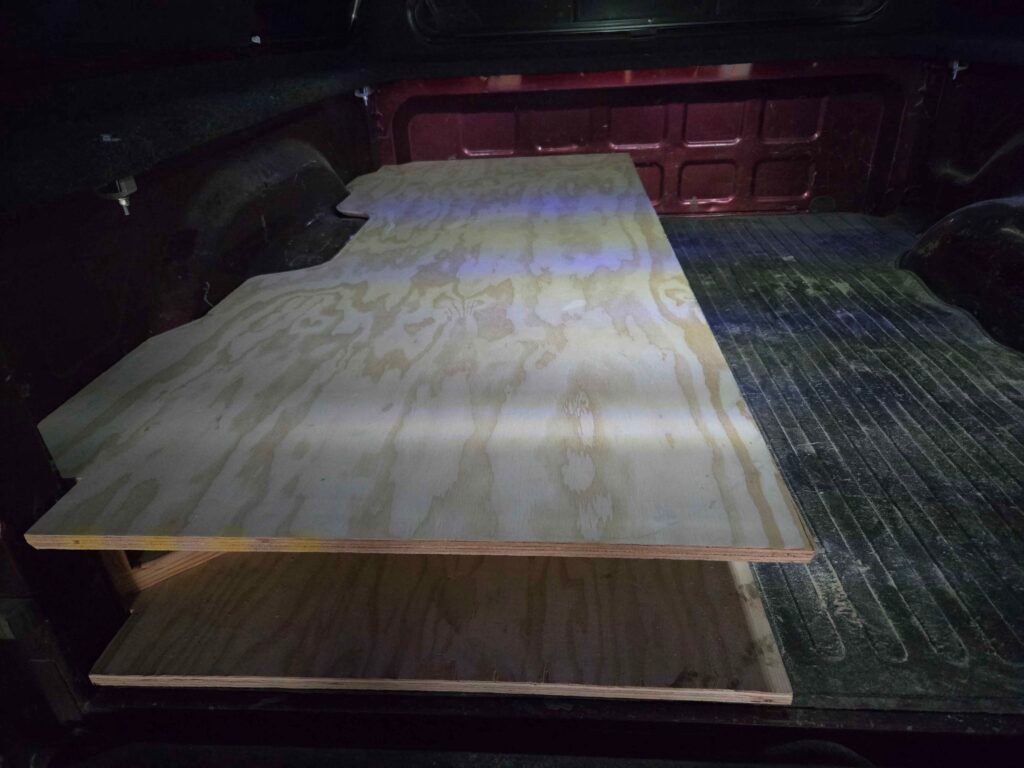
Once I found the correct height, I was able to cut out the pieces. For those wondering after the teaser in Part 1, the final platform height ended up at 6 9/16″.
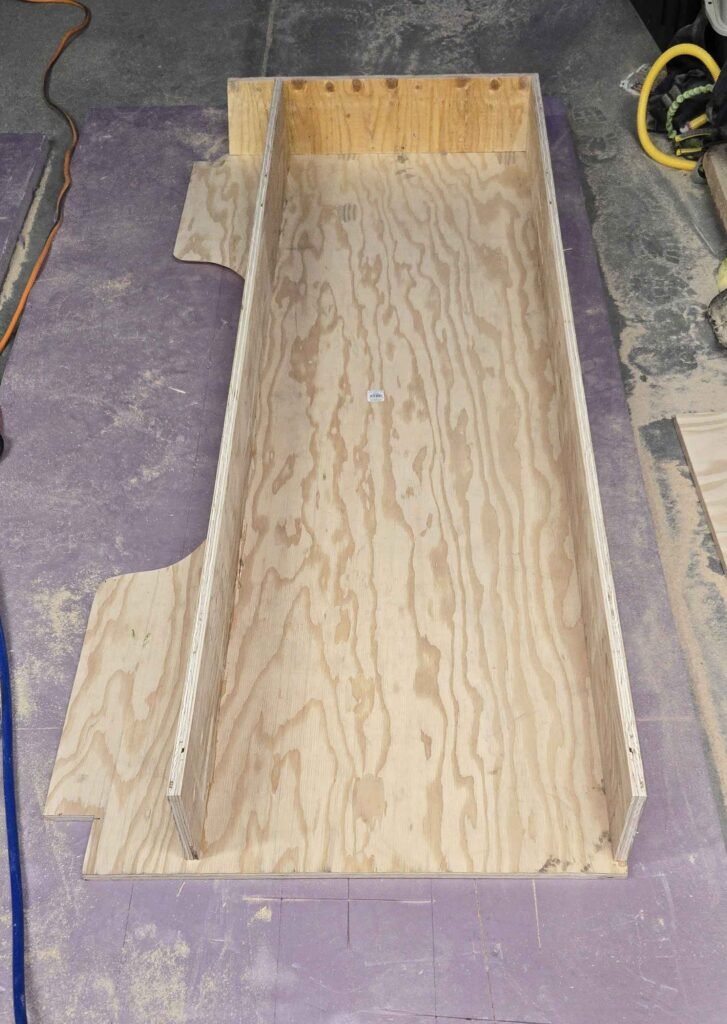
Unfortunately, I forgot to get some pictures of the internal structure of the platform, but there is a divider about halfway between both ends. The open side is for drawers… repurposed heavyweight glides from a platform I built for my 4Runner.
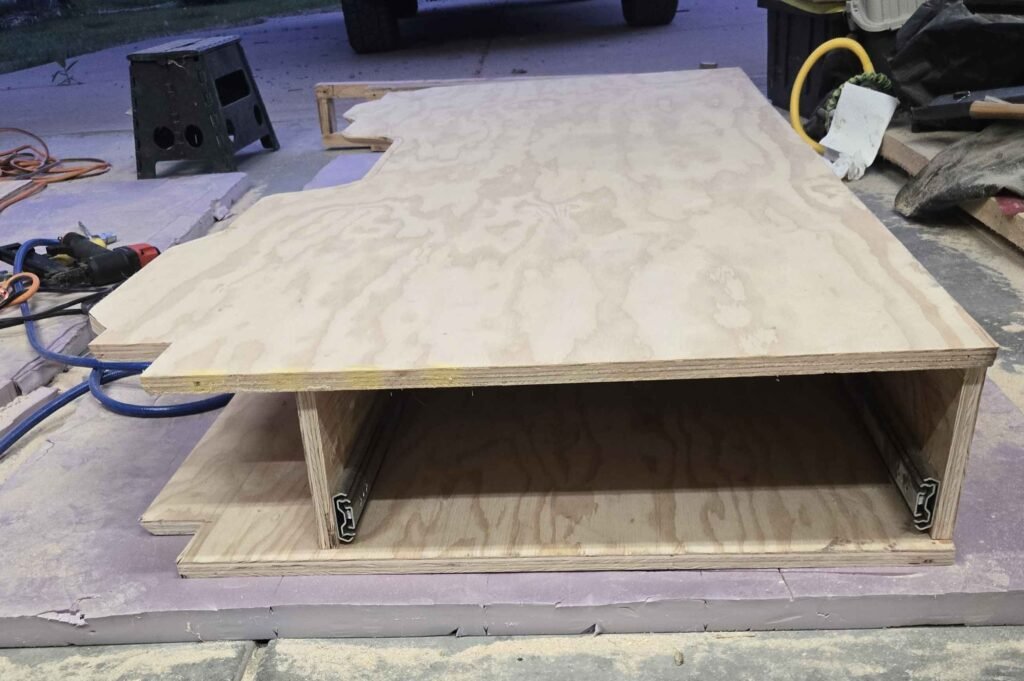
The drawer will end up being built later – the glides went in now, though, since they’re a pain to add/remove once everything is fully assembled.
At the front of the platform, I added supports for a removable storage panel. It may rattle around a bit while I am driving, but I don’t think I’ll notice in the cab.
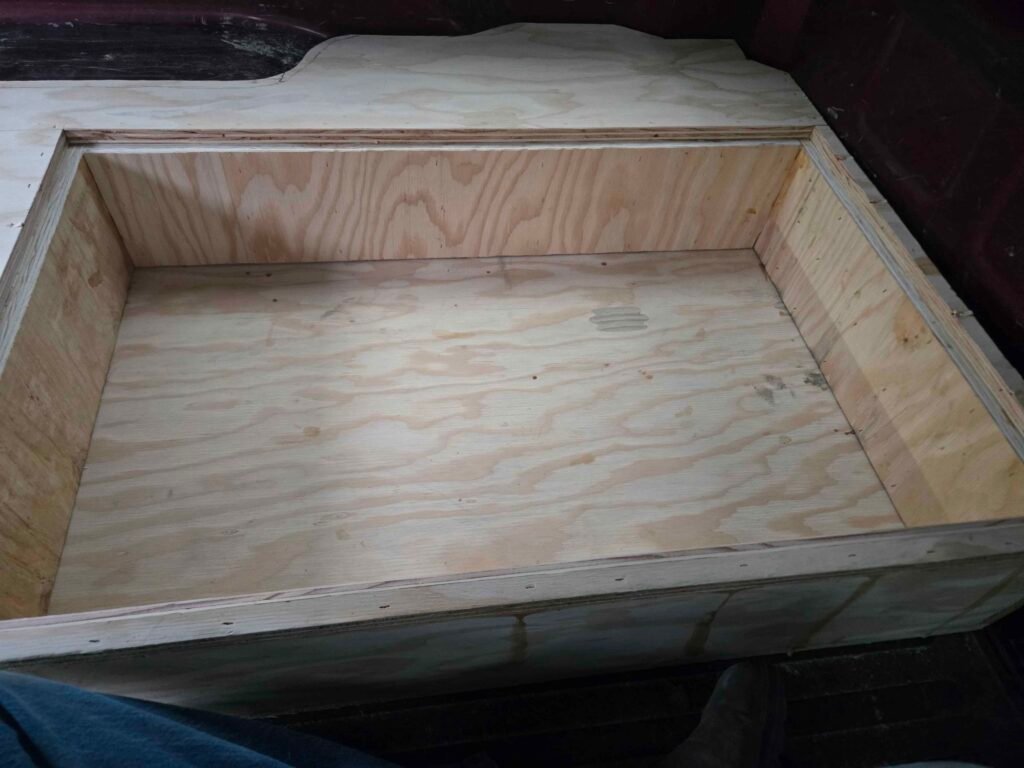
After a healthy amount of wood glue, cabinet staples, and a little bit of luck, it was time for the moment of truth… I was able to put it in the bed of the truck, and… it fit!
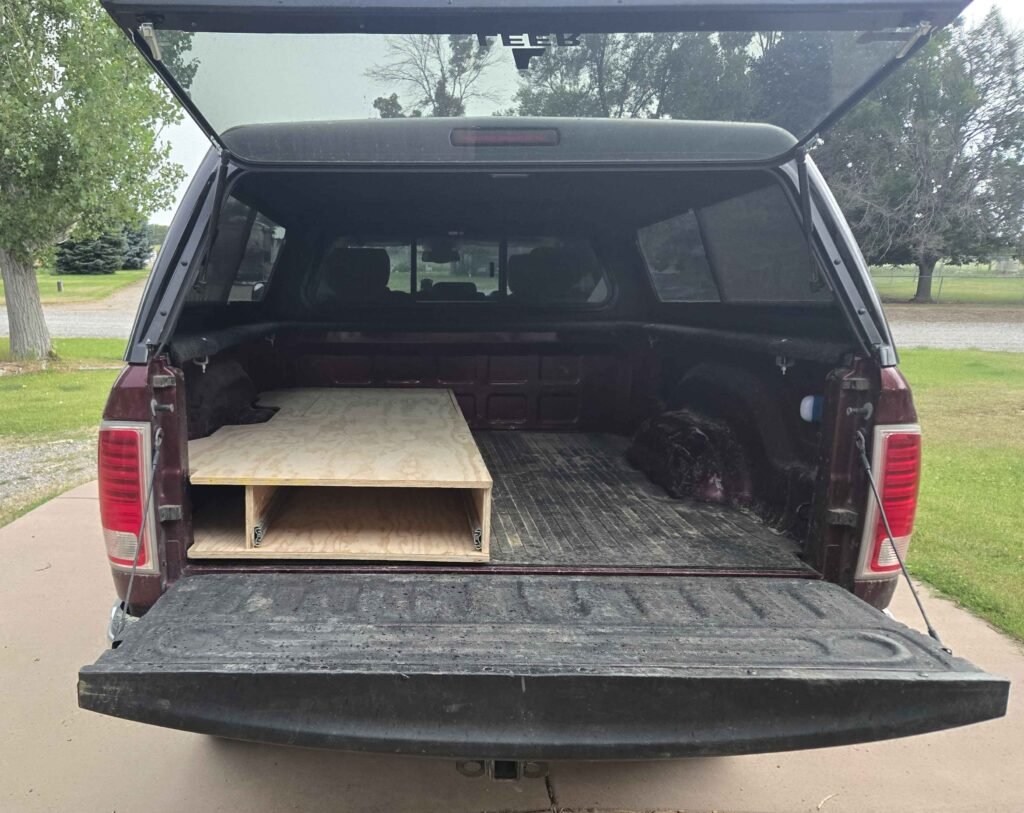
The goal wasn’t to build the fanciest drawer system on YouTube. I wanted something strong, lightweight enough, and easy to repair with basic tools. Sleeping comes first, storage comes second.
I hope to add a mattress and test this soon. With this side complete, follow for part 3 where I start building storage on the passenger side.